410 square feet. One door, and it leads outside. The bed is six feet from the kitchen counter, the work chair is eight feet from the bed, and from the front door you can see every piece of furniture in the apartment at once. That’s the studio I lived in for two years, and the only thing that made it bearable — really, the only thing that made it feel like more than a furnished hallway — was learning that you don’t add walls to a studio. You draw zones.
A studio is not a small apartment. It’s one room with three jobs, sometimes four. The job of trying to add walls to it is almost always the wrong job. The job worth doing is teaching the eye to read three smaller rooms instead of one big one. Most of the work is visual. None of it requires anything you can’t take with you. Here are the five techniques that actually changed how the room read, in the order they made the biggest difference.
1. Start with the rug — the floor draws the first line
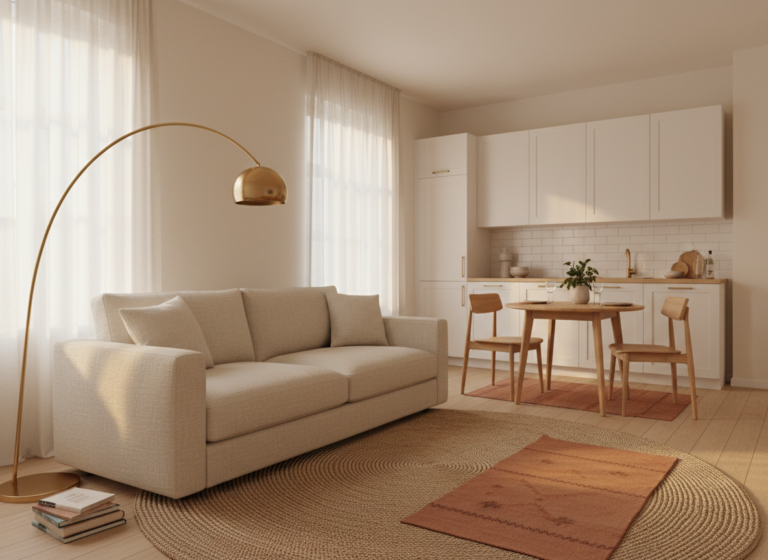
The fastest way to convince the eye that one room is actually two is to put two different rugs on the floor. Not the same rug repeated. Two rugs that are clearly different in scale, color, or pattern. The boundary between them is read as a boundary between zones, even when nothing else changes.
Practical rule: each rug should sit fully under the furniture it claims. The bed rug should reach 18 to 24 inches past the foot of the bed and 12 to 18 inches past each side, so the bed sits inside the rug instead of floating above it. The living rug should sit under the front legs of the sofa at minimum, ideally the whole sofa. The gap between the two rugs is the doorway. Leave two to four inches of bare floor between them — close enough that they read as adjacent rooms, not close enough that they merge.
2. Turn the furniture around — backs are walls
The other thing the studio I lived in had going for it, once I figured it out, was that every piece of furniture has a back. A sofa back is a four-foot tall wall. A console table behind a sofa is a five-foot deep zone marker. A tall chair with its back to the bed is a partial divider. Most people instinctively push everything against the actual walls because that’s what apartments train you to do — open up the middle of the room.
In a studio, that’s backwards. Pull the sofa forward, three to four feet off the wall behind it. The sofa back now divides the studio into “living” in front of it and “sleeping” behind it. Put a console table or a low shelf in the gap between the sofa back and the bed — six to ten inches deep is enough — and the zone reads as completely separate even though physically it’s still the same room.
3. Half-walls from open shelving
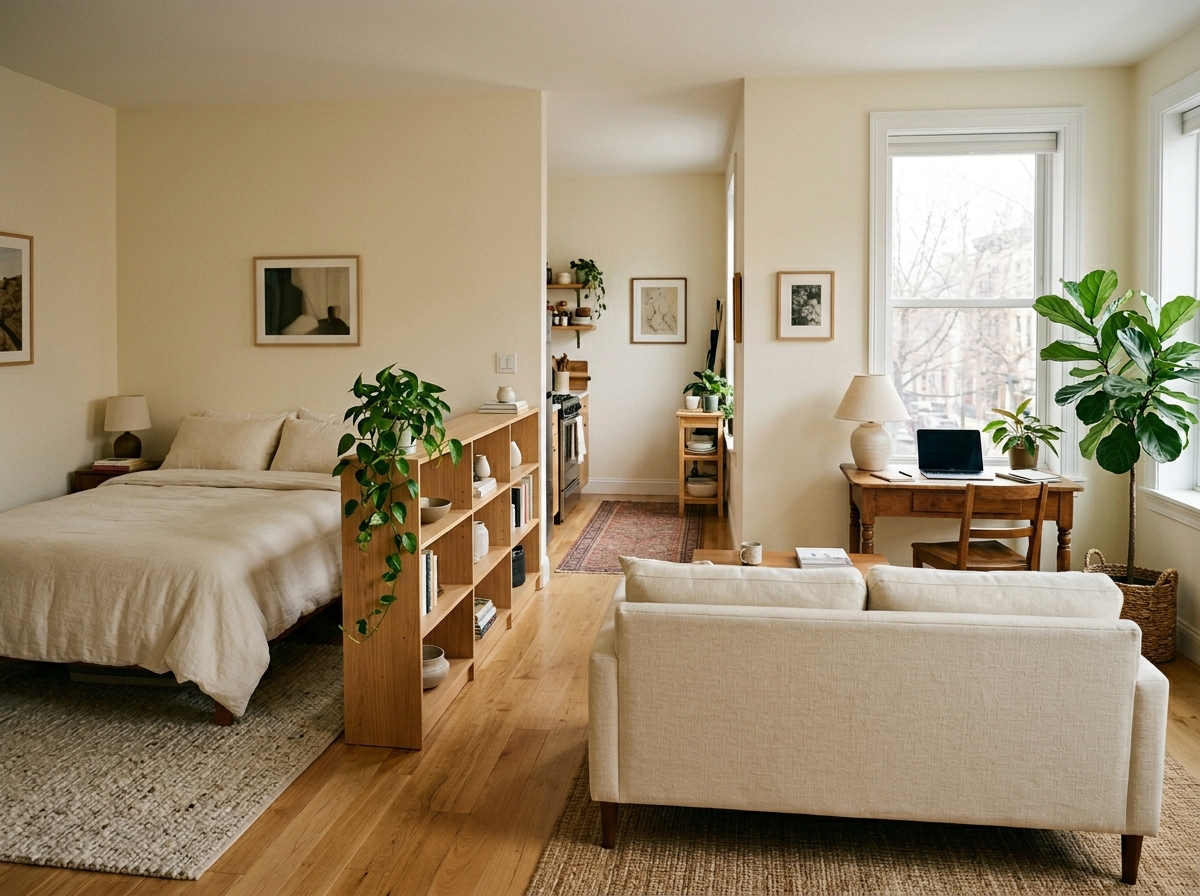
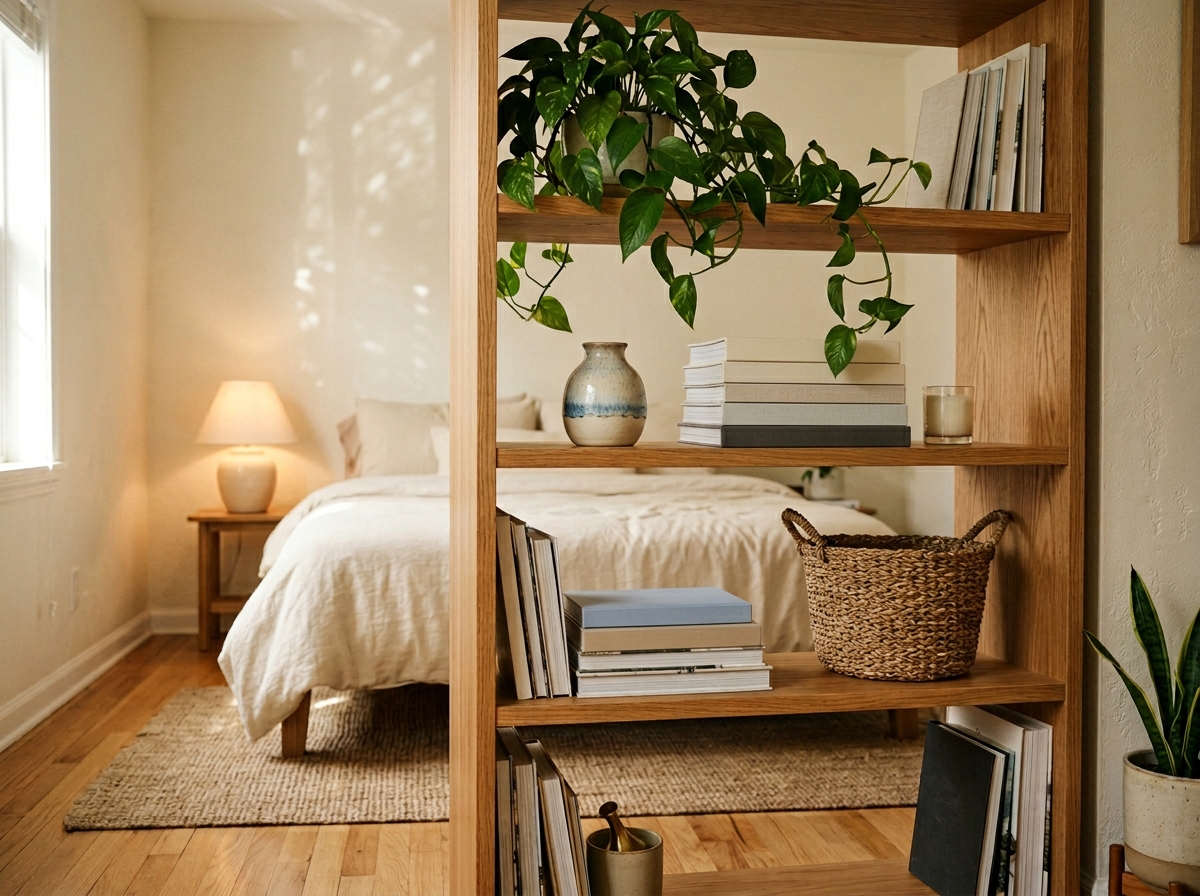
If the sofa back isn’t tall enough to do the dividing work, the next step up is a freestanding bookshelf used sideways. A 5- to 6-foot open shelf with no back, placed perpendicular to a wall, becomes a half-wall that defines a zone without blocking light. The IKEA Kallax 2×4 horizontal turned vertical, or any open-back equivalent, is the cheapest version. About $80 to $130, no install, no anchor required as long as it’s loaded evenly.
The key is the no-back part. A solid bookshelf creates a wall and kills the light behind it; an open-back shelf creates a screen that the eye reads as a divider but light passes through. You see through it from one zone, but the two zones still read as separate because the shelf interrupts the line of sight at chest-to-shoulder height. Style the shelf with books on the working side and plants and small objects on the bedroom side — same shelf, two different rooms looking at it.
4. Use light to claim territory
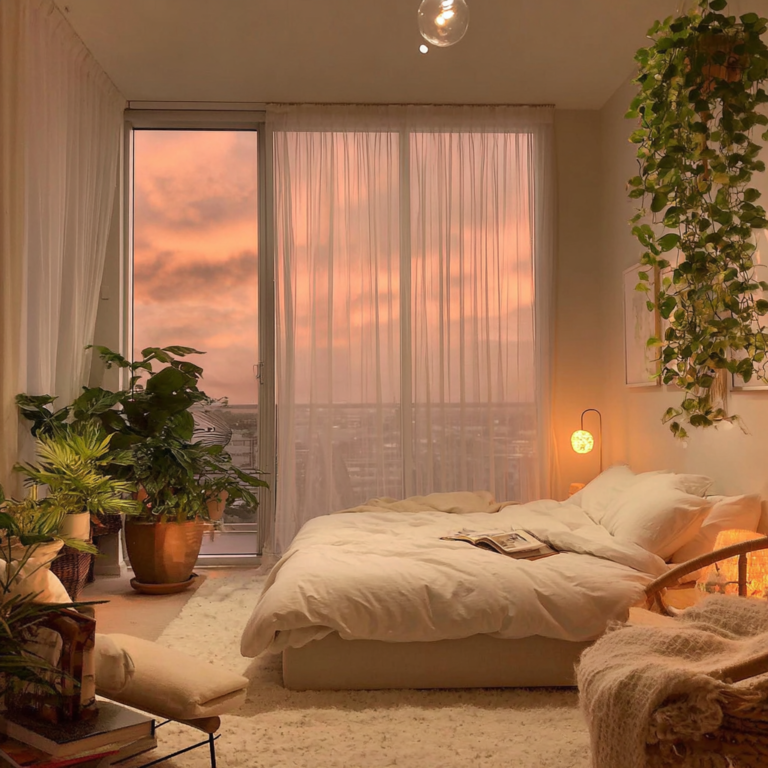
Light is the technique most people underuse. A lamp doesn’t just illuminate a corner; it tells the eye “this is a separate place.” If every zone in the studio has its own light source at its own height, the room stops reading as one space and starts reading as a sequence of lit rooms — even when the overhead ceiling fixture is off and especially when it is.
Three lamps minimum for a one-room studio. A floor lamp in the living zone, casting a wide pool of light over the sofa. A table lamp on the nightstand in the sleeping zone, smaller in scale, lower in height, narrower in the pool of light it casts. A desk lamp on the work surface in the working zone. Each lamp at 2700K warm white. Each lamp on its own switch. The lamps make the zones; the zones make the room.
5. Hang fabric where you can’t hang a door
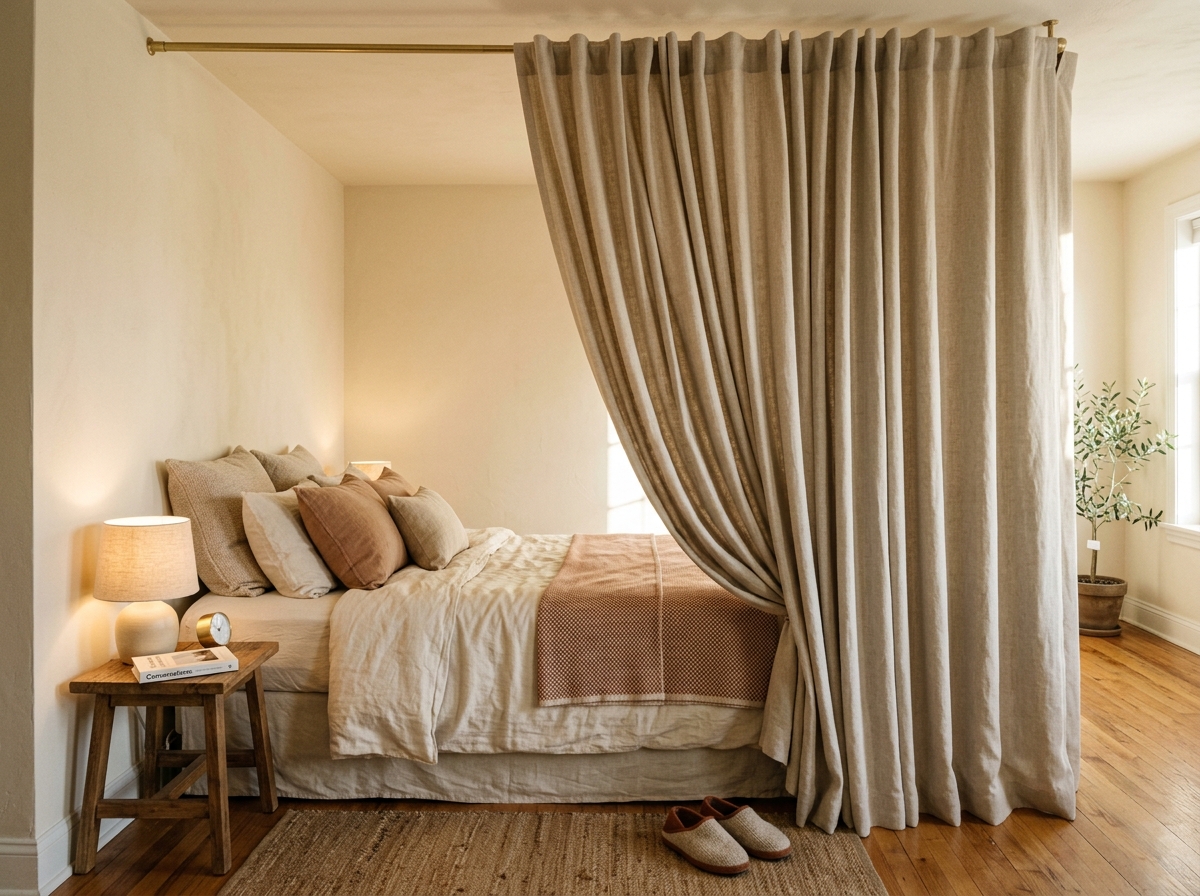
When the other four techniques aren’t quite enough — usually for the sleeping zone, where you actually want a degree of physical separation when guests are over — a fabric divider does the work a door would in a bigger apartment. A tension rod across the ceiling, $25, and a single long curtain panel. No drilling, no patches at move-out. The curtain stays pulled back most of the time and slides closed when it earns its keep.
The trick is treating it like a curtain, not like a wall. Choose a fabric that reads as intentional — linen, heavyweight cotton, a soft wool blend in a color that matches the bedding or the rug. Avoid the see-through panels that read like a dorm hack. The curtain should look like it was always meant to be there, even when it’s open. The day my landlord came by to inspect for renewal, she walked past the curtain without registering it. That’s the bar.
| Technique | Cost | What it actually does |
|---|---|---|
| Two rugs | $150–$400 | Floor draws the boundary line |
| Pulled-forward furniture | $0 if you own it | Sofa back becomes a half-wall |
| Open-back shelf | $80–$130 | Divider that light passes through |
| Per-zone lamps | $60–$200 total | Each zone reads as its own room |
| Ceiling curtain | ~$25 + fabric | Soft separation, no holes |
The studio doesn’t get bigger when you zone it. It stops feeling like one room and starts feeling like three smaller rooms with no walls between them — which, for what most studios actually need, is the same thing.
One last thing the studio taught me: you don’t need all five techniques in the same apartment. Two or three is usually enough. The two-rug trick plus the pulled-forward sofa got me 70% of the way there in the first weekend. The shelf and the curtain came later, when I knew the room well enough to know where the zone boundaries actually wanted to be. Start with the floor, work up to the ceiling. The room will tell you which techniques it needs.